How to Prepare Your Lawn For Sod & DIY Sodding


A bright green luscious lawn is the best curb appeal any home could have. No amount of flowers and beautiful plants can replace the eye-catching green grass.
So, if your yard needs a facelift and you want virtually instant gratification, then sod is a great alternative. Furthermore, if you enjoy DIYing, then laying sod may be for you!
With the correct preparation and following these simple steps, you can enjoy your new sod-laden lawn in roughly 8 hours (for an average sized yard). Below you’ll find a list of crucial steps you’ll need to take before, after, and during sod laying.
1. Test the soil
The health of your soil is very important for the growth and longevity of your grass. Without a healthy foundation, your sod simply won’t grow as healthy and strong as possible.
Spending the time and investment to test your soil could potentially save hundreds (if not thousands) later on. It can usually take a couple of weeks for soil test results to come back, so get this step completed well before you plan to sod the lawn.
2. Measure
When you order your sod, you’ll be asked for lawn measurement in square footage. (You might have to dust off your math skills for this step!)
The equation is simple: you’ll need to measure the length and width of your yard. Then, simply multiple length by width to determine the total square footage of sod needed. Don't forget to add roughly 5% to compensate for sidewalks, trees, etc. It's always better to have more sod than not enough!
3. Prepare the area
For the best results, we highly recommend starting with bare soil. If you have some grass, you’ll need to start with a rototiller to remove the existing grass.
Once you’ve tilled the area, rake the ground until it's level. Ensure the lawn is sloping away from any buildings and sidewalks to help with irrigation.
Next, depending on your soil test, you may need to add limestone or starter fertilizer. You’ll also need to remove any rocks or debris that could cause your grassroots not to take hold.
4. Start installing
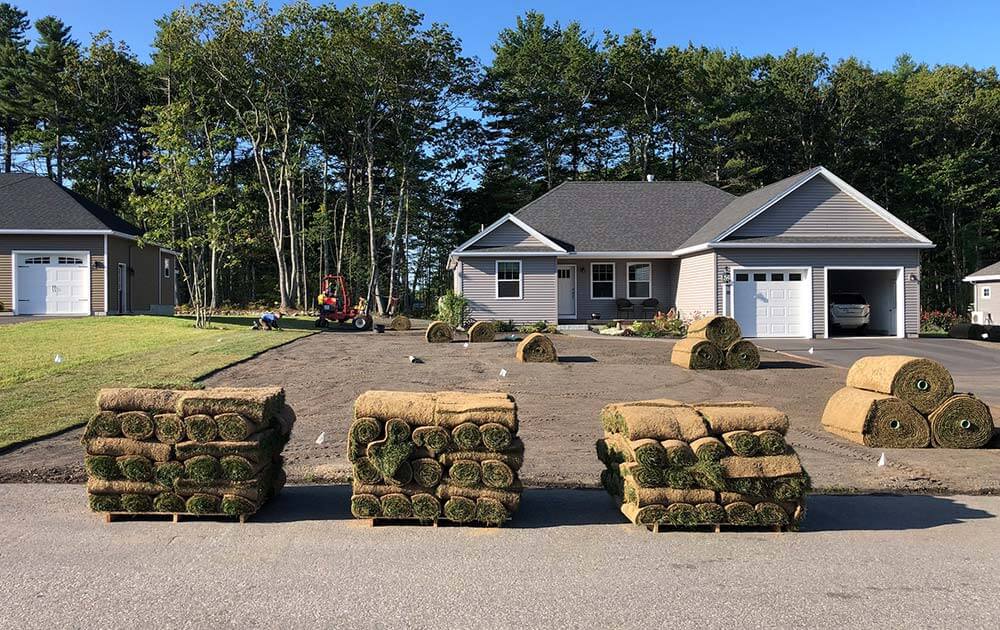
Once you’ve picked up or had your sod delivered, it’s best to start with the longest straight edge of your yard. (Typically, that’s a fence line or driveway.)
As you install it, be careful to avoid stepping on the sod as much as possible. That said, you will want to make sure that the sod is gently padded down to the soil to ensure there are no air pockets.
For the following rolls or pieces of sod, stagger the joints like bricks, making sure the grain (or direction) of the sod matches.
5. Water as you go
Water is a critical ingredient to grow strong and healthy grass — especially sod. It’s helpful to water in small sections as you lay your sod.
Once your sod is installed, you will want to water frequently for the next two weeks to ensure your sod is taking root.
6. Mow the freshly laid sod
Watch your freshly laid sod carefully as it begins to grow. Once it reaches approximately 3 inches, it's best to go ahead and cut it down to 2 inches. This will help stimulate growth and make sure weeds will not take over.
7. Enjoy your beautiful lawn!
Last, but not least, it’s time to sit back and enjoy your hard work!
Installing sod gives you the benefit of almost immediately seeing the fruits of your labors. Follow these 7 steps to prepare and install sod in your lawn.
For help in the greater Buxton, Maine area with your sodding or landscaping needs, contact us at Prime Cut Landscaping & Lawn Care today!
Demand Perfection Year Round